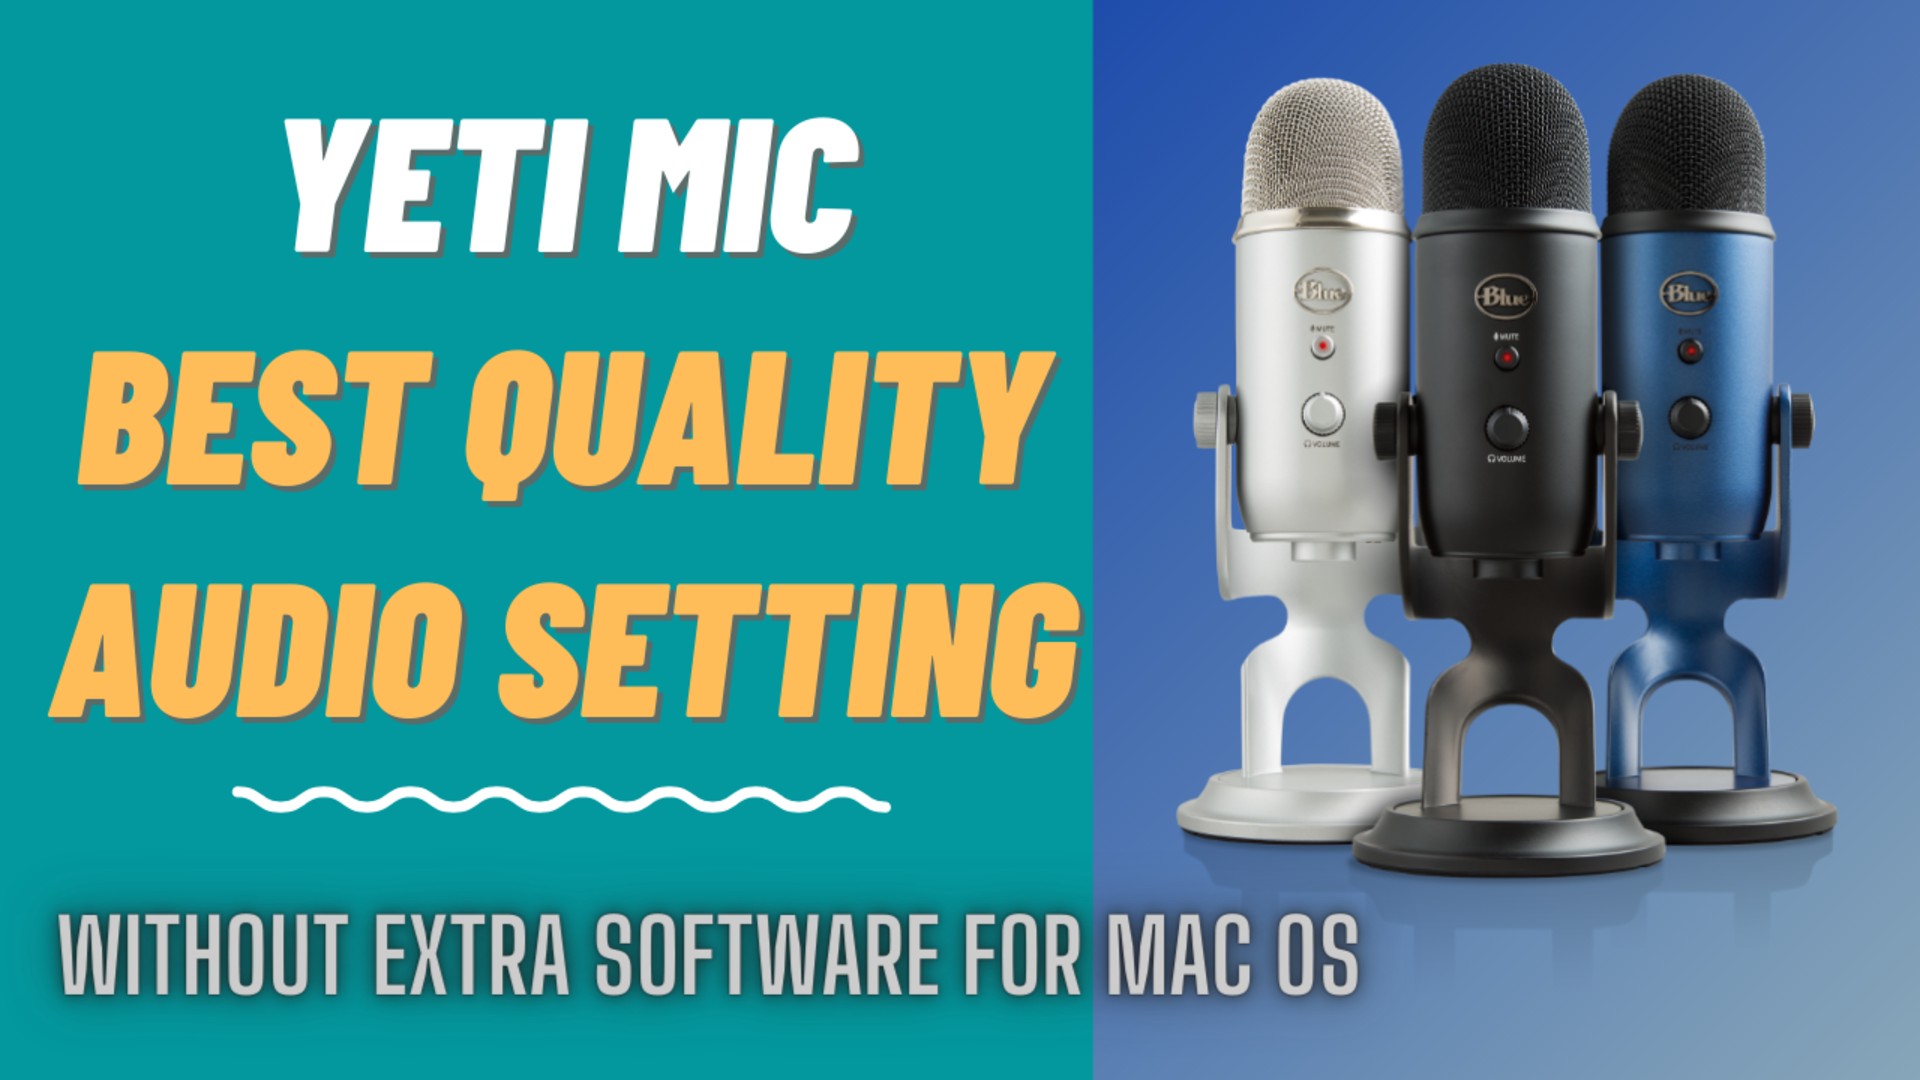
How to setup Yeti mic in MacOS for best quality audio recording:
If you just bought Yeti microphone and wondering what is the best way to setup the microphone in your computer, you have reached the right video. In this short video, I will show you how to setup yeti microphone recording in your Mac operating system for best quality of audio recording.
The step by step video guide will help you understand better, please watch the video.
Before I start, just want to clarify, I have Yeti Blue Mic but this method works on any kind of Yeti Mic. Additionally, I will give you my feedback on which of one will give you the best quality audio recording.
Let’s fix the default setting for all the Yeti Mic recording:
Connect your Blue Mic to your computer with USB cable.
I have reduced gain of Yeti Mic to minimum.
In the pattern choose the one with heart sign, it called cardioid, which is going to catch audio from the front and avoid the noise from behind.
Yeti Mic best quality audio recording option 1 for Mac OS:
- Click on the sound icon and go to sound preferences.
- In the Input section, choose Yeti Stereo Microphone as default input.
- Click on spotlight and search for Voice Memo.
- Click on the red recording icon for start recording the audio.
- To export the audio from voice memo, just click the audio and drag to the fold you want to place.
Let’s talk about Pro and Con of recording audio on voice memo Mac:
Pro:
- Very easy to setup
- No additional software requires
Con:
- Audio quality is not good as other options
- Audio file comes in .m4a file and some video editing software does not support that audio format, you may need to work on converting the file.
To copy your audio to file from Voice Memo, just click the audio and drag to desktop or any folder, from there you can move it to your video editing software.
Yeti Mic best quality audio recording option 2 for Mac OS:
- Make sure you have the same setting as option 1 for audio input.
- Now open Quicktime from spotlight.
- From the File menu in QuickTime, choose New Audio Recording.
- On the little recording window, next to red record icon, click an arrow dropdown icon and choose Yeti Stereo Microphone as your input. Make sure the audio icon below recording icon is mute.
- Click on the red recording icon for recording the audio.
Pro and Con:
Pro:
- It’s easy to setup
- No additional software requires
This is the one of the best quality of audio without requiring technical knowledge about all the editing software.
Con:
- The file format is .m4a, However, you can easily find the free .m4a to mp3 covert online.
Yeti Mic Recording option 3 for Mac OS:
This option requires some technical knowledge and if you edit video using DaVinci Resolve, please read HOW TO RECORD AND EDIT YOUR AUDIO USING DAVINCI RESOLVE, it’s is the best option for editing and recording audio for YouTube.

